How to Connect Low Voltage Lights: A Comprehensive Guide
Low voltage lighting offers a safe and energy-efficient way to illuminate your outdoor spaces, highlight landscaping features, or create ambient lighting indoors. Understanding how to connect low voltage lights is crucial for a successful and aesthetically pleasing lighting project. This comprehensive guide will walk you through the entire process, from planning and selecting the right components to the actual wiring and troubleshooting. Whether you’re a seasoned DIY enthusiast or a beginner, this article provides the essential knowledge to confidently tackle your low voltage lighting installation.
Understanding Low Voltage Lighting
Before diving into the connection process, it’s important to understand what low voltage lighting entails. Unlike standard 120V or 240V systems, low voltage systems typically operate at 12V or 24V. This lower voltage significantly reduces the risk of electrical shock, making it safer for outdoor use, especially in areas where water is present. Furthermore, low voltage lighting is more energy-efficient, resulting in lower electricity bills.
Benefits of Low Voltage Lighting
- Safety: Reduced risk of electrical shock.
- Energy Efficiency: Lower energy consumption and cost.
- Ease of Installation: Simpler wiring compared to high voltage systems.
- Flexibility: Wide range of fixture styles and applications.
- Cost-Effective: Lower material costs and reduced energy bills.
Planning Your Low Voltage Lighting System
Careful planning is the foundation of a successful low voltage lighting project. This involves determining your lighting needs, choosing the appropriate fixtures, and calculating the total wattage.
Step : Determine Your Lighting Needs
Start by identifying the areas you want to illuminate. Consider the purpose of the lighting: is it for security, ambiance, or highlighting specific features? This will help you determine the type and number of fixtures needed.
Step : Choose the Right Fixtures
Low voltage lighting offers a vast array of fixture options, including spotlights, path lights, floodlights, and deck lights. Select fixtures that complement your landscape and meet your specific lighting requirements. Consider factors such as light output (lumens), beam angle, and color temperature.
Step : Calculate Total Wattage
Calculating the total wattage is crucial for selecting the correct transformer. Add up the wattage of all the fixtures you plan to install. The transformer’s wattage rating should be at least 20% higher than the total fixture wattage to provide a safety margin. For example, if your fixtures total 80 watts, choose a transformer with a rating of at least 100 watts.
Essential Components for Connecting Low Voltage Lights
To connect low voltage lights properly, you’ll need several key components:
- Low Voltage Transformer: Converts standard household voltage (120V) to low voltage (12V or 24V).
- Low Voltage Cable: Typically 12- or 14-gauge wire, designed for outdoor use and direct burial.
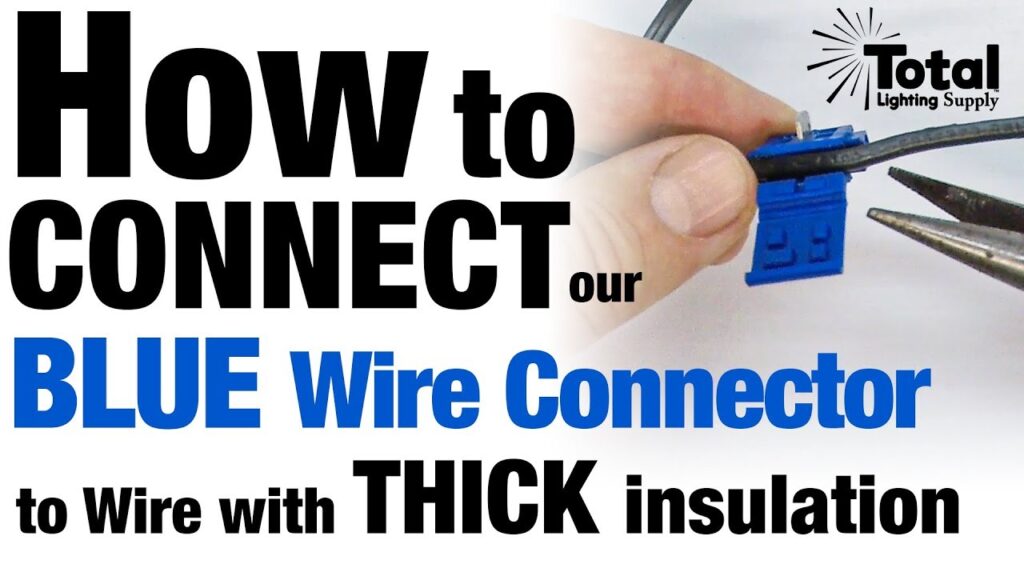
- Low Voltage Connectors: Used to connect the cable to the fixtures and the transformer.
- Low Voltage Lights: The actual lighting fixtures (spotlights, path lights, etc.).
- Wire Strippers: For removing insulation from the wires.
- Screwdriver: For tightening screws on connectors and fixtures.
- Multimeter (Optional): For testing voltage and continuity.
Step-by-Step Guide to Connecting Low Voltage Lights
Now, let’s walk through the actual process of how to connect low voltage lights. Remember to always disconnect power to the transformer before working on any wiring.
Step : Install the Transformer
Choose a suitable location for the transformer, typically near an outdoor outlet. Mount the transformer securely to a wall or post, following the manufacturer’s instructions. Ensure the location is protected from rain and excessive moisture. Plug the transformer into the outlet. Some transformers also support hardwiring to the mains, which requires more advanced electrical knowledge. If you are not comfortable with hardwiring, consult a qualified electrician.
Step : Run the Low Voltage Cable
Run the low voltage cable from the transformer to the location of your first light fixture. Bury the cable at least 6 inches deep to protect it from damage. Use a shovel or trenching tool to create a narrow trench. Leave extra cable at each fixture location for easy connection and maintenance. [See also: Outdoor Lighting Installation Tips]
Step : Connect the First Light Fixture
Using wire strippers, carefully remove about ½ inch of insulation from the ends of the low voltage cable. Attach the cable to the first light fixture using the appropriate low voltage connectors. Ensure the connections are secure and watertight. Many connectors use a simple clamp or screw mechanism to secure the wires.
Step : Continue Connecting Additional Fixtures
Repeat the process of running the cable and connecting fixtures until all lights are installed. Maintain consistent cable depth and secure connections throughout the system. Consider using a daisy-chain configuration, where the cable runs from one fixture to the next, or a hub-and-spoke configuration, where each fixture connects directly to the transformer.
Step : Connect the Cable to the Transformer
Once all the fixtures are connected, run the remaining end of the low voltage cable back to the transformer. Strip the insulation from the cable ends and connect them to the transformer’s output terminals. Ensure the polarity is correct (positive to positive, negative to negative) if your transformer or fixtures require it. Most low voltage systems are AC, meaning polarity is not important.
Step : Test the System
Before burying the cable completely, test the system to ensure all lights are working correctly. Turn on the transformer and check each fixture. If any lights are not working, check the connections and voltage with a multimeter. Ensure the cable is not damaged and that the transformer is providing the correct voltage.
Step : Bury the Cable and Conceal the Wiring
Once you’ve confirmed that the system is working correctly, bury the remaining cable and conceal any exposed wiring. Use mulch, rocks, or other landscaping materials to hide the cable and connectors. This will protect the wiring from damage and improve the overall appearance of your lighting system.
Troubleshooting Common Issues
Even with careful planning and installation, you may encounter some issues with your low voltage lighting system. Here are some common problems and their solutions:
- Lights Not Working: Check the transformer is plugged in and working. Verify all connections are secure and the cable is not damaged. Use a multimeter to check the voltage at each fixture.
- Dim Lights: This could be due to voltage drop. Use thicker gauge wire or shorten the cable runs. Ensure the transformer is providing the correct voltage.
- Flickering Lights: Check for loose connections or damaged wiring. Replace any faulty fixtures.
- Transformer Overheating: Ensure the transformer’s wattage rating is sufficient for the total fixture wattage. Reduce the number of fixtures or upgrade to a larger transformer.
Safety Precautions
Safety is paramount when working with electricity. Always follow these precautions:
- Disconnect Power: Always disconnect power to the transformer before working on any wiring.
- Use Appropriate Tools: Use insulated tools designed for electrical work.
- Wear Safety Glasses: Protect your eyes from debris and sparks.
- Follow Local Codes: Adhere to all local electrical codes and regulations.
- When in Doubt, Consult a Professional: If you are not comfortable working with electricity, consult a qualified electrician.
Choosing the Right Low Voltage Cable
Selecting the appropriate low voltage cable is essential for the performance and longevity of your lighting system. The gauge of the wire determines its current-carrying capacity and resistance. Thicker wires (lower gauge numbers) can handle more current and experience less voltage drop over long distances. For most low voltage lighting applications, 12- or 14-gauge wire is sufficient. However, for longer runs or higher wattage systems, 10-gauge wire may be necessary. Always use direct burial cable that is specifically designed for outdoor use and is resistant to moisture, UV radiation, and physical damage. Properly connecting the low voltage lights cable is key to a lasting and safe system.
Low Voltage Lighting Maintenance
Regular maintenance can help extend the life of your low voltage lighting system and ensure optimal performance. Clean the fixtures regularly to remove dirt and debris. Check the connections periodically to ensure they are secure and watertight. Replace any damaged wiring or connectors. Inspect the transformer for signs of corrosion or damage. By following these simple maintenance tips, you can keep your low voltage lighting system shining brightly for years to come. Knowing how to connect low voltage lights also means understanding how to maintain them.
Conclusion
Connecting low voltage lights is a straightforward project that can significantly enhance the beauty and functionality of your outdoor spaces. By following the steps outlined in this guide and taking the necessary safety precautions, you can confidently install and maintain your own low voltage lighting system. Remember to plan your project carefully, choose the right components, and always prioritize safety. With a little effort, you can create a stunning and energy-efficient lighting display that will be the envy of your neighbors. Understanding how to connect low voltage lights empowers you to customize and expand your outdoor lighting as your needs evolve. The ability to connect low voltage lights yourself also saves money compared to hiring a professional electrician. The beauty of how to connect low voltage lights is the flexibility and affordability it provides for enhancing your home’s exterior.
