Disassembly Guide: Mastering the Ruger 22/45 Lite Demontage
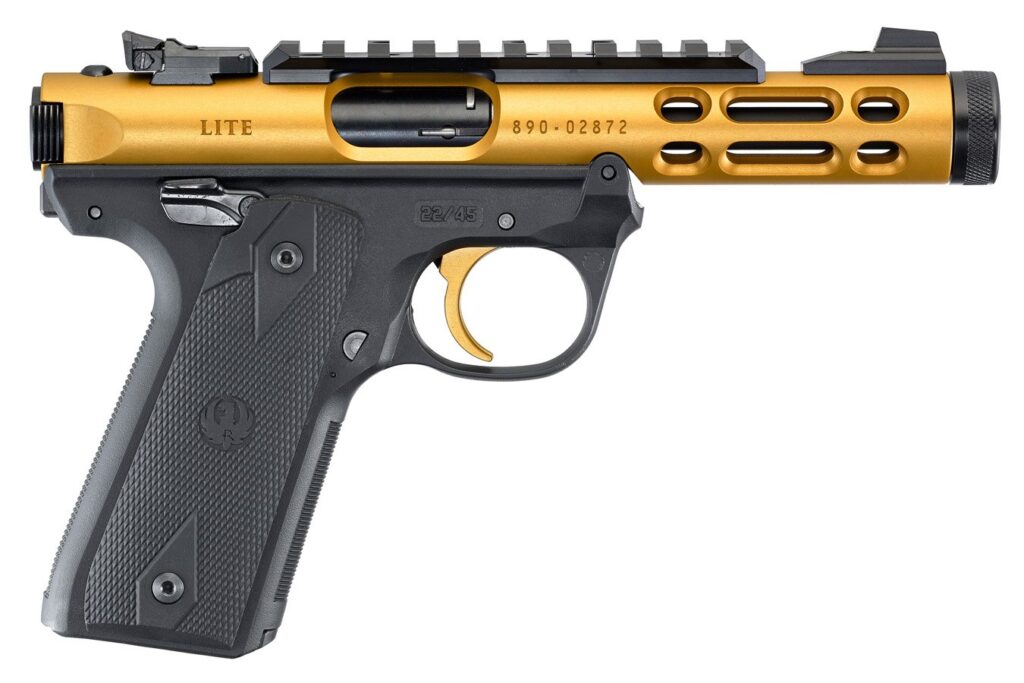
The Ruger 22/45 Lite is a popular pistol known for its lightweight design, comfortable grip, and accuracy, making it a favorite among target shooters and plinkers alike. Understanding how to properly disassemble and reassemble your Ruger 22/45 Lite, or performing a demontage Ruger 22/45 Lite, is crucial for regular maintenance, cleaning, and addressing potential issues. This comprehensive guide will walk you through each step of the process, ensuring you can maintain your firearm safely and effectively. Learning the demontage Ruger 22/45 Lite process will extend the lifespan of your firearm and keep it functioning optimally.
Why Disassemble Your Ruger 22/45 Lite?
Regular disassembly and cleaning are essential for maintaining the performance and longevity of any firearm. For the Ruger 22/45 Lite, this is particularly important due to the .22LR ammunition it uses, which can leave behind significant amounts of residue. Here are a few key reasons to perform a demontage Ruger 22/45 Lite regularly:
- Cleaning: Removing powder residue, lead deposits, and other debris that can accumulate over time.
- Inspection: Checking for wear and tear on critical components, such as the firing pin, extractor, and springs.
- Lubrication: Applying lubricant to key areas to ensure smooth operation and prevent corrosion.
- Troubleshooting: Identifying and addressing potential mechanical issues before they become major problems.
Tools Needed for Demontage Ruger 22/45 Lite
Before you begin the disassembly process, gather the necessary tools and supplies. Having everything on hand will make the process smoother and more efficient.
- Ruger 22/45 Lite Manual: Always a good reference.
- Safety Glasses: Protect your eyes from flying debris.
- Cleaning Mat: Provides a clean and protected work surface.
- Punch Set: For removing pins (a polymer or brass punch is recommended to avoid damaging the finish).
- Small Hammer: For tapping out pins.
- Screwdrivers: A set of screwdrivers, including a small flathead.
- Cleaning Supplies: Gun cleaning solvent, brushes, patches, and a cleaning rod.
- Lubricant: Gun oil or grease specifically designed for firearms.
Safety First: Preparing for Demontage Ruger 22/45 Lite
Safety is paramount when handling any firearm. Before you begin the demontage Ruger 22/45 Lite process, ensure the following:
- Unload the Firearm: Remove the magazine and ensure the chamber is empty. Visually inspect the chamber to confirm it is clear.
- Point in a Safe Direction: Always point the firearm in a safe direction, away from yourself and others.
- Wear Safety Glasses: Protect your eyes from any potential flying debris.
- Work in a Well-Lit Area: Ensure you have adequate lighting to see all the components clearly.
Step-by-Step Ruger 22/45 Lite Demontage Guide
Follow these steps to safely and effectively disassemble your Ruger 22/45 Lite. This demontage Ruger 22/45 Lite guide is designed to be clear and concise.
Removing the Magazine
Press the magazine release button located on the left side of the grip to remove the magazine. Set the magazine aside.
Verifying the Firearm is Unloaded
Pull back the bolt and visually inspect the chamber to ensure it is empty. Lock the bolt back.
Removing the Mainspring Housing Latch
Locate the mainspring housing latch at the rear of the grip. Pull the latch down and remove the mainspring housing assembly.
Separating the Upper and Lower Receivers
With the mainspring housing removed, the upper receiver (barrel and bolt assembly) should now be free to slide forward off the lower receiver (grip frame). It might require a little wiggle.
Removing the Bolt Assembly
With the upper receiver separated, you can now remove the bolt assembly. Simply pull the bolt assembly out of the rear of the upper receiver. This is part of the demontage Ruger 22/45 Lite process that allows for thorough cleaning.
Disassembling the Bolt
This step requires careful attention as there are several small parts involved. Start by drifting out the firing pin retaining pin. Once the pin is removed, you can carefully remove the firing pin, extractor, and extractor spring. Pay close attention to the orientation of these parts for reassembly. This is a crucial step in the demontage Ruger 22/45 Lite for detailed cleaning and inspection.
Removing the Grips (Optional)
If you wish to clean or replace the grips, you can remove them by unscrewing the grip screws. This step is optional and not necessary for basic cleaning and maintenance.
Cleaning and Inspecting the Parts After Demontage Ruger 22/45 Lite
Now that you have disassembled your Ruger 22/45 Lite, take the time to thoroughly clean and inspect each part. Use a gun cleaning solvent and brushes to remove powder residue, lead deposits, and other debris. Pay particular attention to the barrel, bolt face, and firing pin channel. Inspect each part for wear, damage, or corrosion. Replace any parts that are worn or damaged.
- Barrel: Use a bore brush and cleaning rod to scrub the inside of the barrel.
- Bolt Face: Clean the bolt face with a brush and solvent to remove carbon buildup.
- Firing Pin Channel: Use a small brush or pipe cleaner to clean the firing pin channel.
- Extractor: Clean the extractor and extractor spring to ensure proper function.
- Receiver: Wipe down the inside and outside of the receiver with a clean cloth and solvent.
Reassembling Your Ruger 22/45 Lite
Reassembly is essentially the reverse of disassembly. Take your time and ensure each part is properly seated and aligned.
Reassembling the Bolt
Carefully reinsert the extractor, extractor spring, and firing pin into the bolt. Secure them in place with the firing pin retaining pin. Ensure the firing pin moves freely.
Reinstalling the Bolt Assembly
Slide the bolt assembly back into the upper receiver. Ensure it is properly seated.
Reattaching the Upper and Lower Receivers
Align the upper receiver with the lower receiver and slide it back into place. Ensure it locks securely.
Reinstalling the Mainspring Housing
Reinsert the mainspring housing assembly into the rear of the grip. Push the latch up to secure it in place. This step is crucial for proper function.
Checking Functionality
Before loading any ammunition, perform a function check to ensure the firearm is operating correctly. Cycle the bolt, pull the trigger, and verify that the firing pin moves freely. Ensure the safety mechanism is functioning properly.
Lubrication After Demontage Ruger 22/45 Lite
After cleaning and reassembling your Ruger 22/45 Lite, it is essential to lubricate key areas to ensure smooth operation and prevent corrosion. Apply a small amount of gun oil or grease to the following areas:
- Bolt Rails: Apply a thin coat of lubricant to the bolt rails on the receiver.
- Firing Pin: Lightly lubricate the firing pin.
- Extractor: Apply a small amount of lubricant to the extractor and extractor spring.
- Trigger Mechanism: Lubricate the trigger mechanism to ensure smooth operation.
Troubleshooting Common Issues
Even with careful disassembly and reassembly, you may encounter some common issues. Here are a few troubleshooting tips:
- Failure to Extract: This could be caused by a dirty extractor or a weak extractor spring. Clean the extractor and replace the spring if necessary.
- Failure to Eject: This could be caused by a dirty ejector or a weak ejector spring. Clean the ejector and replace the spring if necessary.
- Failure to Fire: This could be caused by a dirty firing pin or a weak firing pin spring. Clean the firing pin and replace the spring if necessary.
Final Thoughts on Demontage Ruger 22/45 Lite
Mastering the demontage Ruger 22/45 Lite process is a valuable skill for any Ruger 22/45 Lite owner. By following this comprehensive guide, you can safely and effectively disassemble, clean, and reassemble your firearm, ensuring its continued performance and longevity. Remember to always prioritize safety and consult your owner’s manual for specific instructions and recommendations. Regular maintenance, including the demontage Ruger 22/45 Lite, will ensure your Ruger 22/45 Lite remains a reliable and enjoyable firearm for years to come. Performing a demontage Ruger 22/45 Lite is a straightforward process with the right knowledge. The demontage Ruger 22/45 Lite allows for a deep clean and inspection. The key to a successful demontage Ruger 22/45 Lite is patience and attention to detail. Understanding the demontage Ruger 22/45 Lite process is key to maintaining its performance. This demontage Ruger 22/45 Lite guide provides a complete overview. Regular demontage Ruger 22/45 Lite helps prevent malfunctions. Knowing how to perform a demontage Ruger 22/45 Lite is a valuable skill. With practice, the demontage Ruger 22/45 Lite becomes easier. Proper demontage Ruger 22/45 Lite extends the firearm’s life. Remember to always follow safety precautions during the demontage Ruger 22/45 Lite.
[See also: Ruger 22/45 Upgrades] [See also: Best .22LR Ammo for Ruger 22/45] [See also: Ruger 22/45 Trigger Adjustment Guide]
