How to Fix a Leaking Faucet: A Comprehensive Guide
A dripping faucet isn’t just annoying; it’s a drain on your wallet and a waste of precious water resources. According to the EPA, household leaks can waste nearly 1 trillion gallons of water annually nationwide. Fortunately, most leaky faucets are simple to fix yourself, saving you money on plumbing bills. This comprehensive guide will walk you through the process of how to fix a leaking faucet, covering common causes and solutions.
Understanding the Anatomy of a Faucet
Before diving into repairs, it’s essential to understand the different types of faucets and their components. The most common types include:
- Compression Faucets: These are the oldest type, featuring separate hot and cold water handles. They use rubber washers that compress against the valve seat to stop the flow of water.
- Ball Faucets: Commonly found in kitchens, ball faucets have a single handle that controls both water flow and temperature. They utilize a ball valve with slots and chambers to regulate water flow.
- Cartridge Faucets: These faucets also have a single handle, but they use a cartridge that moves up and down to control water flow.
- Ceramic Disc Faucets: These are the most modern and durable type, featuring a single lever and ceramic discs that slide against each other to control water flow.
Identifying the Cause of the Leak
The first step in how to fix a leaking faucet is to determine the cause. Common culprits include:
- Worn-out Washers: This is the most frequent cause of leaks in compression faucets. Over time, the rubber washers become brittle and cracked, leading to drips.
- O-Ring Problems: O-rings are small rubber rings that seal the faucet handle and spout. When they wear out, they can cause leaks around the handle.
- Corroded Valve Seats: The valve seat is the area where the washer presses down to stop the water flow. Corrosion can prevent a tight seal, resulting in a leak.
- Loose Parts: Over time, screws and packing nuts can loosen, causing leaks around the faucet handle or base.
- Damaged Cartridge: In cartridge faucets, a damaged cartridge can lead to leaks.
- Mineral Buildup: Mineral deposits can accumulate around the faucet parts, interfering with their proper function and causing leaks.
Tools and Materials You’ll Need
Before you begin, gather the necessary tools and materials:
- Adjustable wrench
- Screwdrivers (Phillips and flathead)
- Pliers
- Penetrating oil
- New washers, O-rings, or cartridge (depending on the faucet type and problem)
- Valve seat wrench (optional)
- White vinegar (for cleaning mineral buildup)
- Clean cloths or rags
- Basin wrench (optional, for removing the entire faucet)
Step-by-Step Guide: How to Fix a Leaking Faucet
The following steps provide a general guide. Specific instructions may vary depending on your faucet type and the cause of the leak. Always shut off the water supply before starting any repairs.
Step 1: Turn Off the Water Supply
Locate the shut-off valves under the sink. There should be separate valves for hot and cold water. Turn them clockwise until they are completely closed. If you don’t have individual shut-off valves, you may need to turn off the main water supply to your house.
Step 2: Protect the Sink
Cover the sink with a towel or mat to protect it from scratches and dents while you work.
Step 3: Disassemble the Faucet
Carefully disassemble the faucet, following these general guidelines:
Compression Faucet:
- Remove the decorative cap on the handle.
- Loosen the screw holding the handle in place.
- Remove the handle.
- Unscrew the packing nut.
- Remove the stem.
- Replace the washer at the end of the stem.
- Inspect and clean the valve seat.
Ball Faucet:
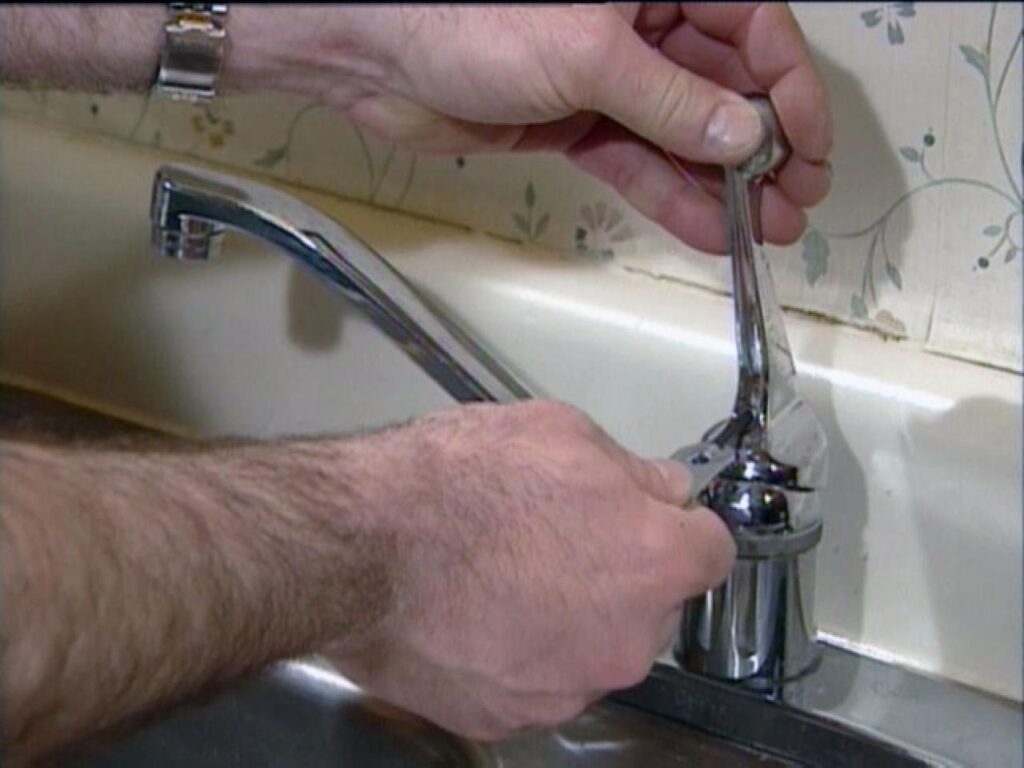
- Loosen the setscrew on the side of the handle.
- Remove the handle.
- Loosen the cap and collar.
- Remove the ball.
- Replace the O-rings and springs.
- Inspect and clean the valve seat.
Cartridge Faucet:
- Remove the handle (usually held in place by a setscrew or decorative cap).
- Remove the retaining clip.
- Pull out the cartridge.
- Replace the cartridge.
Ceramic Disc Faucet:
- Remove the handle (usually held in place by a setscrew or decorative cap).
- Remove the cylinder cap.
- Remove the ceramic disc cylinder.
- Clean the cylinder and replace any damaged O-rings.
Step 4: Replace Worn Parts
Replace any worn-out washers, O-rings, or cartridges with new ones. Make sure you purchase the correct size and type of replacement parts for your faucet. A leaking faucet can often be fixed by simply replacing these components. Understanding how to fix a leaking faucet also means knowing where to purchase quality replacement parts.
Step 5: Clean Mineral Buildup
If you notice mineral buildup on any of the faucet parts, soak them in white vinegar for a few hours or overnight. This will help dissolve the mineral deposits and restore the parts to their original condition. Mineral buildup is a common cause of faucet leaks, and cleaning it can often resolve the issue.
Step 6: Reassemble the Faucet
Carefully reassemble the faucet in the reverse order of disassembly. Make sure all parts are properly aligned and tightened. Don’t overtighten the screws or nuts, as this can damage the faucet. Proper reassembly is crucial when learning how to fix a leaking faucet.
Step 7: Turn on the Water Supply
Slowly turn on the water supply and check for leaks. If the faucet is still leaking, double-check your work and make sure all parts are properly installed. If you’re still having trouble, consult a professional plumber.
Preventing Future Leaks
Here are some tips to prevent future faucet leaks:
- Regularly inspect your faucets: Check for leaks around the handle, spout, and base.
- Replace worn parts promptly: Don’t wait until a faucet is leaking to replace worn washers or O-rings.
- Avoid overtightening: Overtightening can damage the faucet parts and cause leaks.
- Use a water softener: If you have hard water, consider using a water softener to reduce mineral buildup.
- Proper winterization: Prevent frozen pipes and faucets by insulating them properly during cold weather.
When to Call a Plumber
While many faucet repairs are simple enough to do yourself, there are times when it’s best to call a professional plumber. Consider calling a plumber if:
- You’re not comfortable working with plumbing.
- You’ve tried to fix the leak yourself, but it’s still leaking.
- The faucet is severely corroded or damaged.
- You suspect a more serious plumbing problem.
Conclusion
Knowing how to fix a leaking faucet can save you money and conserve water. By following these steps, you can tackle most common faucet repairs yourself. However, don’t hesitate to call a plumber if you’re not comfortable with the task or if the problem is beyond your abilities. Remember, preventing leaks is just as important as fixing them. Regular maintenance and prompt repairs can keep your faucets in good working order for years to come. So, the next time you hear that annoying drip, don’t despair – you now have the knowledge to tackle it head-on. [See also: How to Replace a Faucet] Learning how to fix a leaking faucet is a valuable skill for any homeowner. Addressing a leaky faucet promptly can prevent water damage and higher water bills. Many resources are available online to further assist you in understanding how to fix a leaking faucet. The ability to fix a leaking faucet is empowering and can lead to significant cost savings. Mastering how to fix a leaking faucet will make you a more self-sufficient homeowner. Therefore, understanding how to fix a leaking faucet is crucial for home maintenance. Don’t underestimate the importance of knowing how to fix a leaking faucet. Finally, remember that how to fix a leaking faucet is a skill worth investing time in learning. Consider this a guide to how to fix a leaking faucet.
